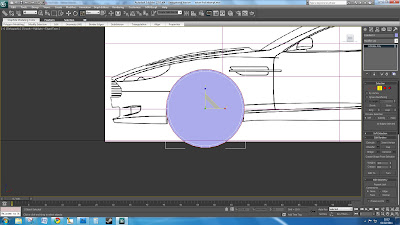
I started the modelling process with a cylinder; I increased the number of polygons to get a smoother radius. I converted it into an editable poly and removed all the edges with the edge selection so that it was a two dimensional circle. Using the border selection I selected the outer edge of the circle and, whilst holding down shift, used the scale tool to increase the polygons around the edge.

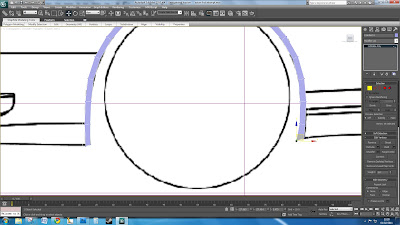
I selected the centre circle and the bottom polygons and deleted them. Using the line selection tool and the angle tool I could move lines to match the shape of the wheel arches.

Switching to the front view I could move the wheel arches accordingly on the Y axis

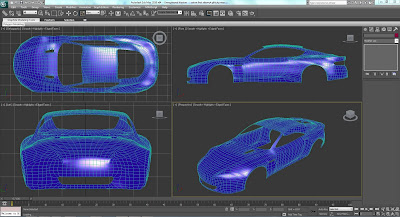
I repeated this process to trace around the entire car body. Selecting groups and individual lines, whilst holding down shift and dragging, creates more polygons to build up the car.

By changing the object's display properties to see-through, it is easier to trace around the bitmap.

By using the symmetry modifier only half of the car needs to be modelled.

Using the turbo smooth modifier increases the amount of polygons, which makes the model much smoother.

This is the mainbody work of the car.

I think you are doing very well with 3ds max, the model looks great! :)
ReplyDelete