I used the text feature to write the numbers and then extruded the text to make it stand out. I kept the text and the plate as separate objects so that I could apply different material colours to them.

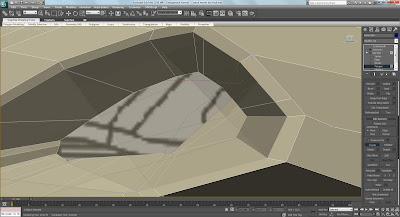
When I made the initial body of the car I didn't leave a cut-out for the lights so I had to use the cut tool and add vertex tool to be able to draw the outline of the light so that I could remove it (I selected the polygons I wanted to remove and made them into a new object so that I could make the glass cover of the light later). Once this was done I used the ring selection to select the inner cut-out of the light and dragged the ring back whilst holding down shift so that it created a new selection of polygons. I then used scale to shrink down the selection.

I used the create tool to close the back of the light.

By clicking on four different vertices and then pressing the right mouse button a new polygon was formed.

To create the glass that covers the light I used the polygons that I had cut out of the car body before. I moved the vertices individually to get a curved shape. I then used turbo smooth to get a more detailed curve.

To make the reflective coating of the light I copied the internal polygons of the indent I had made for the light and converted them into a new object. I scaled them down slightly and selected the outside edges and, whilst holding shift used the scale selection tool to make a larger ring of polygons around the edge.
The internal light is constructed out of a tube to which I applied the taper modifier, and the lens is a sphere with a glass material added to it.

No comments:
Post a Comment