I found that it was the little details that seemed to take a long time setting up, for example the lighting and selecting materials to use the scenes. I found that whatever I tried to do in 3ds max took much longer than I anticipated. In future I will try and set myself more realistic goals and work harder to manage my time. I think I underestimated the time required to render and edit the the final production. I have learned a lot of useful modeling and animation techniques in this module and have enjoyed working to the brief.
Thursday 14 April 2011
Evaluation
I am quite pleased with the end result. I have followed the brief and produced a thirty second trailer for Casino Royale. I feel that I could have produced a better piece if I had had longer on the project. I had to make the decision to not include the scene when the Aston Martin crashed as I needed to experiment more with reactor to get the required effect. I found producing the bar scene animation a lot more enjoyable than the car scene and found using reactor very interesting. I enjoyed the modeling side of the assignment much more than the animation and felt that picked it up quite quickly.
I found that it was the little details that seemed to take a long time setting up, for example the lighting and selecting materials to use the scenes. I found that whatever I tried to do in 3ds max took much longer than I anticipated. In future I will try and set myself more realistic goals and work harder to manage my time. I think I underestimated the time required to render and edit the the final production. I have learned a lot of useful modeling and animation techniques in this module and have enjoyed working to the brief.
I found that it was the little details that seemed to take a long time setting up, for example the lighting and selecting materials to use the scenes. I found that whatever I tried to do in 3ds max took much longer than I anticipated. In future I will try and set myself more realistic goals and work harder to manage my time. I think I underestimated the time required to render and edit the the final production. I have learned a lot of useful modeling and animation techniques in this module and have enjoyed working to the brief.
Rendering and Premier Pro
The final render settings I used for the road scenes cameras were quite low as each frame was taking a long time to render. I used HDTV (video) at a resolution of 1280 x 720 and set everything to low on the render frame window. As it was a very dark scene this wasn't too much of an issue.

In premier pro I edited all of the individual scenes from each camera. I then recorded sounds from the film directly through my sound card from the DVD and converted them to uncompressed wav format so they were compatible with Premier. As the initial scene with the gun firing was in slow motion I needed to slow down the sound of the gun. I did this in premier by right clicking on the sound clip and selecting speed and duration. I set the speed to ten percent and ticked maintain Audio Pitch.
The theme tune was place on the time line and played through the whole trailer. I used an Exponential Fade to gradually fade the tune out at the end

After the editing I exported the trailer to flv format. This compresses the video and audio clips into one file ready for viewing.
Lighting and camera
To make the front headlight beams I use two spot lights and adjusted the hot spot / beam to 20 and the fall off field to 25. The shadows were turned on and a volume light was added in the advanced effects panel. This created the visible beam. The actual lens covers of the lights were just self illuminating colours.
The lights were linked to the car with the select and link button. This kept the beam fixed to the car as it travelled along the path constraint.

I had lots of problems with exposure when using the day light system in this scene so to overcome this I placed an omni light at the top of the scene and linked one to the car for extra illumination.

To be able to see the wheels on the car rotate I attached a camera to the side of the car filming it from a side view.

Saturday 9 April 2011
Making the road and mountain scene.
To make the road for the car scene I drew a plane, converted it to an editable polygon and then using the shift and move dragged edges outwards to make up the basic shape of the road. To make the road flow downhill polygons were pulled down on the z axis. A Turbo smooth modified was then added to give the road a softer surface.

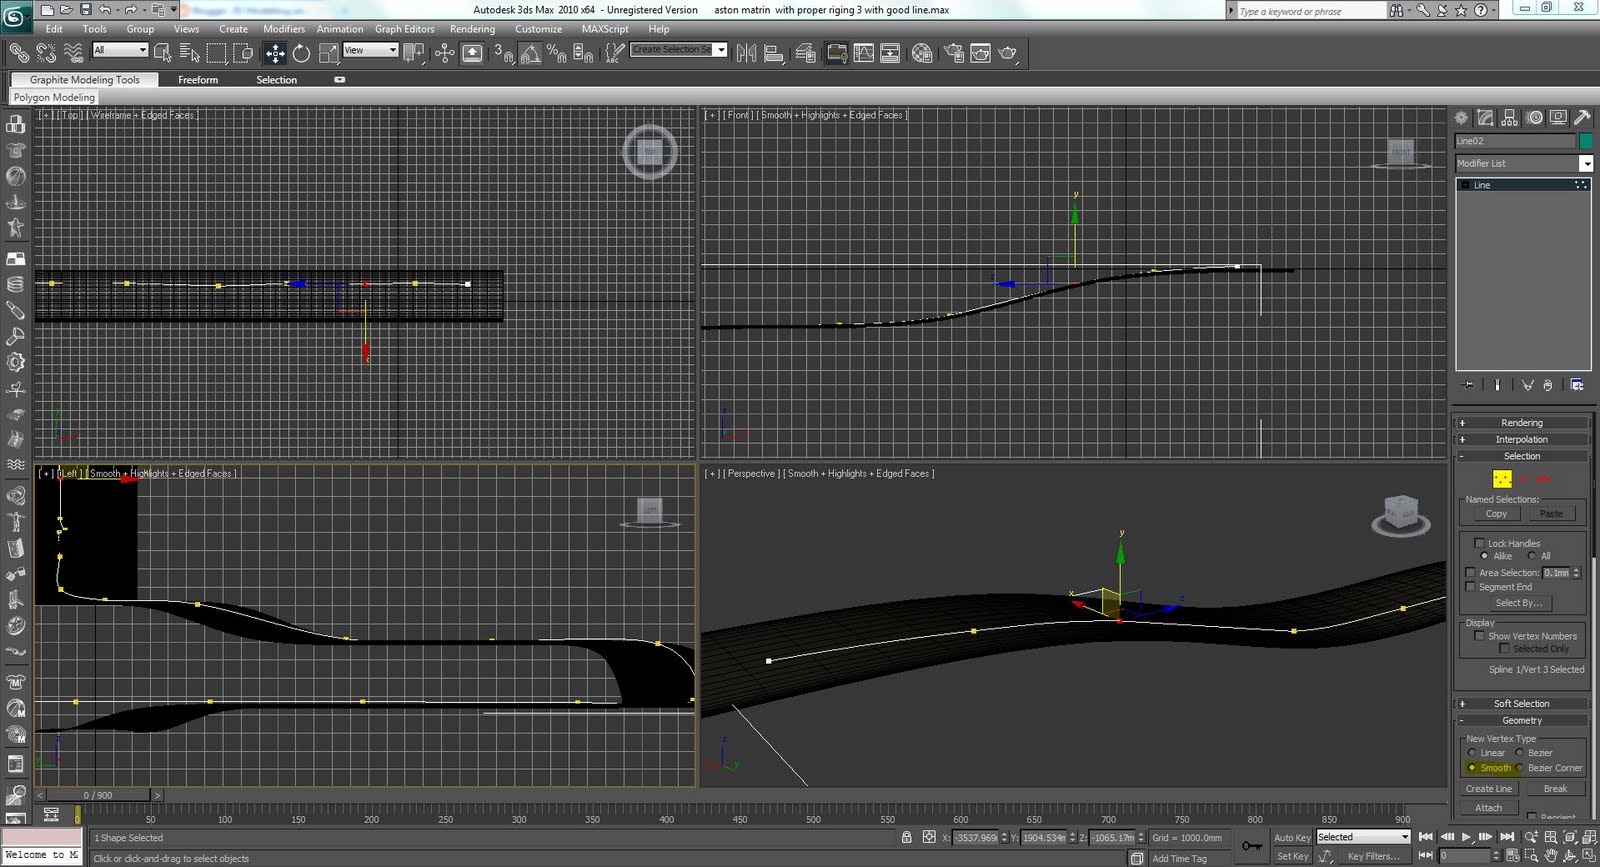
The next step was to make a path that the car could follow. It was important to select the smooth option so the car could follow in a natural way. The lines vertices were individually moved to match the curves of the road.
To make the mountains the road was cloned and then the edges were repeatedly cloned along the Y axis and gradually moved up the Z axis. A turbo smooth modifier was then used to make a more detailed slope.

The rigged car was imported into the scene and then the main body controller was selected. The path constrain was chosen under the animation tab. The constraint was set to the line and the follow and filp were selected under the path parameters tab. this made the car follow the path.

I set up two cameras for this scene. The first is linked to the car, positioned on the front windscreen, so that I can create an in car view of what the driver would see. The second is stationery after the first bend

This is a test render of the in car camera.
This is a test of the outside camera after the first bend.
There will need to be two more cameras added to the scene. One will be a distance shot and the other will be looking from Vespers eyes as the car travels towards her.
Setting up the rigging for the car.
Setting up the rigging for the car allows you to have easier control over the car when making the animation, by linking the parts in a way that they work together. This is the tutorial I followed to achieve the rig. http://www.youtube.com/watch?v=gnzsrJGezsc&feature=related
The image below shows all the rigged features that controll the steering, drifting, wheel rotation, and suspension.


The first step was to attach all of the parts of the car to the main body and the wheels tires to the alloys using the attach function. Then on a new layer I created point helpers that would control the front steering and wheel rotation.The helpers were aligned to the central pivot of the wheel and then the select and link tool was used to link the helper to the wheel.

In the hierarchy for the smaller box helper the scale was locked and the rotate was locked on the X and Y axis so that the steering could only move left and right. The same process was carried out on the larger pivot helper but with the Y axis being the only free pivot to rotate. This was repeated for all 4 wheels.
(it is important to name each helper with regar to which wheel it is for)

To operate the steering more easily a circle spline was created and aligned to the centre axis of the front wheels. Using select and link the helpers were attached to the circle spline this meant that when the circle spline was rotated the wheels followed. Using this technique I made the drift control, steering and suspension.
Every controller was linked to the main body controller (so that moving the main body moved the whole car and its controllers).

To make the suspension work a controller was made above the car out of three circle splines. This was then linked to the body and its wire parameter were adjusted. allowing for the rotation over the desired axis. To adjust the amount that the car rotates. *.08 was added to the expression.

Using the same method the wheel rotate pivot helper was linked to the main car control. Its rotation was adjusted under the wire parameters to "DegToRad" this turns the wheel according to its size and radius.
Thursday 7 April 2011
First scene animation
This is the first scene that will play at the same time as the car crashing. I have edited the avi's in adobe premier pro. When I have finished the car scene the two will play at the same time, but alternate between each scene
.
Subscribe to:
Posts (Atom)