Tuesday, 29 March 2011

Using reactor

The first step was to create a rigid body collection (press the button that looks like 3 cubes to the left of the screen). By clicking the add button in the right hand modifier list you can add all the objects to the collection, make sure you don't add the rigid body itself to the scene.


Under the ridged body properties tab the individual properties of objects can be set. All the objects in the scene have to be set to convex hull.


The collision tolerance was set to 0.62 this is determines at what distance the collision takes place. The gravity was set to -350 which created a relatively realistic simulation of real world gravity.


The next stage was to add some momentum to the bowling ball by selecting auto key and then scrolling to frame five and moving the ball slightly towards the pins. Reactor could then use this movement to work out how much momentum the ball has.


By putting some back spin on the ball, using the rotate selection and moving at the ball slightly to the right along the y axis it was possible to create a more realistic bowel to the ball.


To preview the animation at any point you can select the preview animation button on the right under the havok world tab. To make the animation into renderable frames you have to select the create animation button. This is an irreversable step so I saved the created animation as a new file.


I then added materials and rendered the animation as an avi and in 720 HD format.

Tuesday, 22 March 2011

Using Morpher

I started off with a simple head model which I had converted into an editable polygon.


I cloned the model four times so that I could make the four different expressions for the models. I kept the original model to one side, to use later with the "Morpher" modifier. I selected individual polygons on each face and moved them to change the expressions on the faces. I named each face with regard to what the expression I had made was.


I applied the turbo smooth modifier to the original face and then the "Morpher" modifier.


With the "Morpher" modifier open you can right click on the box that says empty under the channel list and add your different faces, you can change the amount from 0 -100 and the original face will be affected by the adjustment.


To animate the face I selected the auto key button and scrolled down on the channel list amount, this set a key frame. I moved the timeline and altered the range or each channel list to produce my animation.


Tuesday, 15 March 2011

Using bones

I started with a simple model of a torso which I converted into an editable poly. I selected the bone feature on the system tab and began adding bones to the torso starting from the shoulder joints. Making sure that the joints for each bone is in the correct place. I made sure that there was a slight bend in each joint in the direction that it can move.


The next step was to go to the modifier for each bone and add fins to each side increasing the size of them so that they were just proud of the body.


This was repeated for all of the bones and they were adjusted to best fit the arm.


The entire process was repeated for the opposite side of the body.


The next stage was to use the IK limb solver to make a realistic pivots of each joint. I selected the last bone at the end of the hand and then selected the Animation > IK Solver > IK limb solver and selected the last bone of the base of the shoulder.

I then added a bone for the body. (It is important to name each bone to make it easier to identifi them).


I added fins to the body bone the same way as shown above. I selected the torso and in the modifier tab selected skin. Under the "add" tab I entered all of the bones. This connected the bones to the skin, meaning that when I moved a bone the skin moved with it.


Although the bones and body were joined some of the joints didn't move naturally with the skin. To overcome this problem the skin envelope had to be adjusted. By selecting the envelope tab, under the skin in the modifier tab each bones surrounding mesh can be adjusted and is displayed in a colour spectrum.


I made this simple animation to show the joints working correctly

Tuesday, 8 March 2011

Using path constraints

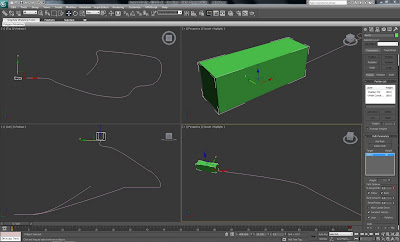
I drew a path using the line tool and then a box to follow the path.


Whilst the box was selected I clicked on Animation > Constraints > Path Constraints and then selected the line as the path. This makes the object move along the path. To make the object follow it in a forward direction the follow box has to be selected in the modifier tab. The bank box can be selected to make the object bank around the corners of the path.


This is a simple render of the box following the path. I will experiment with this technique to animate the Aston Martin along the road.

First Animation

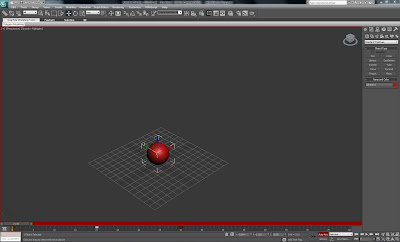
To create the feeling that the sphere was bouncing I made a sphere and pressed the auto key button. I then scrolled along the time line to the 20th frame and moved the sphere up.


The auto key button fils in the pervious frames to make an animation of the ball getting from its start point at frame one to frame 20.

I then selected the 40th frame and moved the sphere back to its original position.


I deselected the auto key button and pressed the play button. The animation did not look very realistic, because the ball would slow down as it reached the top and quickly fall back down.

I opened track view curve editor which allows you to adjust the motion of the object using a graph.


I set tangents to fast at the beginning and end of the animation and adjusted the shape of the top curve to make it flatten out, to create the slowing down of the ball as it reaches its maxim hight.


To repeat the action of the ball as if it were bouncing I selected Param Curve Out-of-Range Types and selected the loop graph.


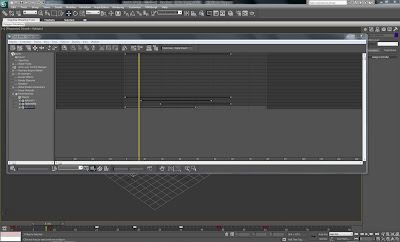
To make three different balls bounce at different times I cloned the original animated sphere two more times and changed their colours. Using the Track View Dope Sheet I moved the bars that represent the different objects (sphere 1,2 & 3) so that the animations were staggered.


This is a render of the finished scene